Overnight No-knead Bread
If you’re a first-time bread-baker, this recipe is for you.
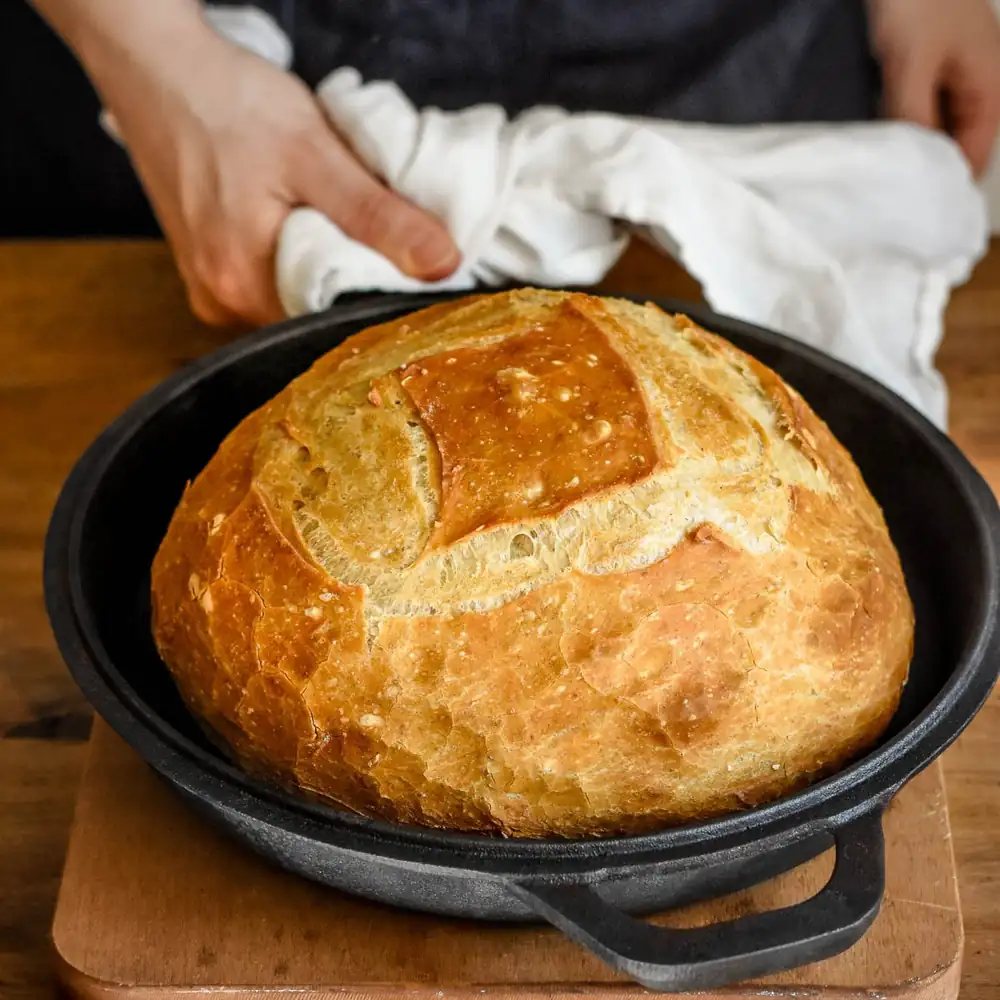
This Overnight No-Knead Bread is a basic loaf that doesn’t require kneading nor does it include a sourdough starter. The yeast-base dough is simply stirred together and rests overnight on your counter top to slowly ferment, rise and develop flavors.
Baked the next day in a sizzling skillet, the bread grows into a crusty bakery-style loaf with a flavorful airy crumb. Trust me, it will not disappoint!
Now I know making bread at home can be intimidating. So, if you are a new to the process, I have put together below a list of the ingredients and recommended equipment you need to make this Overnight No-Knead Bread.
Why using a combination of all-purpose flour and whole-wheat flour? What is instant yeast?
Which baking vessel should I use? What is a Banneton…?
Read through my explanations and helpful tips, and get ready to make this practically fool-proof bread. Ingredients:
- Unbleached All-purpose flour (450g) & Whole wheat flour (50g)
Unbleached all-purpose flour is best for making cakes and soft breads such as pain de mie or brioche. This type of flour has a low amount of protein, usually around 10%, which isn’t enough to create a crusty bakery-style bread loaf, with an airy crumb. To do so, we need to add some whole-wheat flour, which contains more protein, about 14% of protein.
Adding some whole-wheat flour boosts the amount of gluten and hence makes for a more substantial bread, both in taste and texture. For this recipe, we only need to use 10% of whole-wheat flour. This is enough to give extra support and rise, without compromising the soft texture of the crumb.
Adding too much whole-wheat flour (hence, too much gluten) would result in a dense chewy crumb (like bagels).
- Instant Yeast
Instant yeast is dry yeast that has been milled to very fine granules. It helps in leavening breads and creates an airy crumb. In comparison to active dry yeast (milled to bigger granules), instant yeast doesn’t’ need to be dissolved in water before using.
It can be mixed right into your dry ingredients, which is very easy. Instant yeast can be found in most grocery stores, in small packets or in bigger pouches.
Fleischmann’s and Saf are two brands I use regularly. Once open, I like to store my instant yeast in a Tupperware in the freezer. It protects the yeast from oxygen and humidity and makes it last longer.
- Fine-grain sea salt
In bread baking, salt helps the gluten from the flour hold more water and carbon dioxide, creating an airy crumb. You need to use a fine grain salt as it will disperse quickly and evenly into the dry ingredients.
A coarse/flaked salt won’t disperse evenly. I like to use Maison Orphee’s fine Grey seal salt and La Baleine, from France.
- Lukewarm water
Adding lukewarm water to your flour, yeast and salt is the last “ingredient” you need to make bread. It is important to add lukewarm water as it will re-activate the yeast.
It is important that you get the temperature right since cold water won’t get that yeast going, and hot water will kill it. Lukewarm water is around 105-115F (40-46C) ; a temperature you would be comfortable washing your hands in.
Recommended Equipment:
-
- A Cast Iron skillet Combo Cooker. This equipment is a small investment and a great addition to one’s kitchen! A Cast Iron skillet Combo Cooker is a deep skillet and a Dutch-oven all in one, with a lid that can convert into a second skillet. It is ideal for making bread as it retains high heat and distributes it evenly. For this recipe, the loaf bakes 25 minutes with the lid on – to allow a good rise and the formation of the crust; and then 15-20 minutes with no lid – to create a crisp golden crust. If you do not have a Cast Iron skillet Combo Cooker, you can use a regular Dutch-oven. It may not make for a crust as crunchy, but the result will be similar.
- A metallic dough Scraper/Cutter and/or a silicon bowl scraper. A dough scraper makes it easy to manipulate bread doughs, especially when they are sticky like in this bread recipe. Use a scraper to scrape out the sticky dough from the bowl and to flip it upside down easily on your working surface, without it sticking to your hands.
- Bread/Scoring Lame. You need a very sharp blade (ideally set on a handle) to score deep, clean slices on top of the bread. This is very important as it allows the bread to expand in the oven and not break or crack. This also gives the loaf a beautiful bakery-style look.
- A round Banneton. A Banneton is a proofing basket where you will place your bread dough for its second rise (after it is shaped, before it is baked). This basket provides the loaf with a nice round shape and is ideal for making round loafs. I use a 9-inch round banneton for this bread recipe.
More Cooking notes/tips:
- Grams vs. cups. If you a regular baker, you know that when it comes to baking you have to be very precise. So I do want to mention I make this recipe relying on grams and using a scale (like with all my baking). There could be a large margin of error when using “cup measurements”, and this will likely affect the success of this recipe. This is true for most baked goods, but especially this one. For convenience, I have included here conversions in cups, but I highly recommend you use a scale. If you don’t have one, I think this is a small investment to make that could take your baking to the next level.
- The optimal room temperature for proofing your dough overnight is 80-90F. I usually like to place my bowl inside the oven (off). This is a dry, draft-free space that is often slightly warmer than the rest of the house. My house is usually set at 70 degrees, and rises perfectly fine in the oven (with the oven set to OFF)
- Steps 2 & 3 (in the morning) – including folding the dough like an envelope, flipping it upside down and rolling it around to make the fold seams underneath “disappear” and close the loaf may seem like the two most intimidating steps. This folding technique is inspired by Chad Roberston from his book Tartine Bread. Many no-knead bread recipes do not include these steps. However, I think the folding step really helps in building structure and shaping a perfectly round loaf. It also helps create layers and contributes to a more aerated crumb (“holes” in the bread). These 2 steps are optional, but highly recommended in my opinion.
- There is no need to grease your cast iron or Dutch oven. The pre-heating will prevent the dough from sticking to it.
Remember, making bread from scratch requires more time and commitment than baking a regular cake. This bread dough is likely much looser and stickier than you are used to, and your first loaf may not turn out beautifully.
Do not stress it, this is very normal. After two or three attempts, you will master the shaping and dough handling process better, and your loaves will come out looking better and better.
I hope you enjoy this Overnight No-Knead Bread as much as I do! Any questions, don’t hesitate to leave a comment.
- Who: Method Make