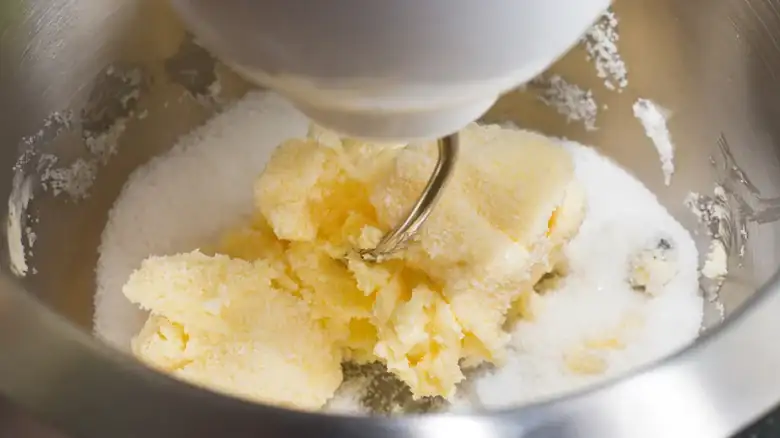
How To Tell If Your Butter Is Creamed Correctly
If you're a home baker at any level, you've almost certainly encountered the recipe instruction to cream your butter. And while whipped butter may be the key to easy spreading, straight from the fridge, the act of creaming butter is critical to the baking process.
Since this step is so important, it's helpful to have some signs that will indicate when your butter is properly creamed. Not only will your butter change texture, going from the standard spread to a more whipped consistency, it'll also be markedly lighter in color, going from golden to almost white.
Beyond hue, there are some textural tell-tales, too. It should be fluffy, almost akin to frosting, and will release from the sides of your mixing bowl easily. A sandy look means it hasn't been well-integrated, while overmixing may present as more oily. In either case, you'll wind up with a gritty mixture in which the sugar hasn't properly dissolved, and that will translate to a less than pleasant result for your baking project.
Temperature concerns and the ideal process
The temperature of your butter has a major impact on creaming, and missteps can manifest in visual signs, too. During the creaming process, grains of sugar create openings in your butter for holding air. When butter is too cold and hard, it's difficult for those grains to complete that task, and the mixture will remain dense, emerging from the mixer as more of a clump. When it's too warm, those little holes will collapse quickly in the melty dairy. In this case, you end up with an oily sensation, and if you place it in a bowl, the butter will spread out and reflect a glistening, greasy look.
For best results, you'll want to start with firm but room temperature butter (although be sure to avoid the worst way to soften butter). Beating in a stand mixer with a paddle attachment for only about ten seconds will create a smooth (but not melted) consistency. Then, instead of dumping in the whole amount of sugar, add it in a slow stream. About two minutes into mixing at a medium speed, you can pause to scrape down the sides. After another two minutes or so of mixing, you'll recognize that light and airy, picture-perfect mixture your project needs.
There are mistakes only beginner bakers make, but improperly creamed butter can happen to the best of us. Having an awareness of these signs can help you sidestep a major baking blunder.